|
Home
- Restoration
- Exterior
Color - Other
Photos Kitchen
|
|
|
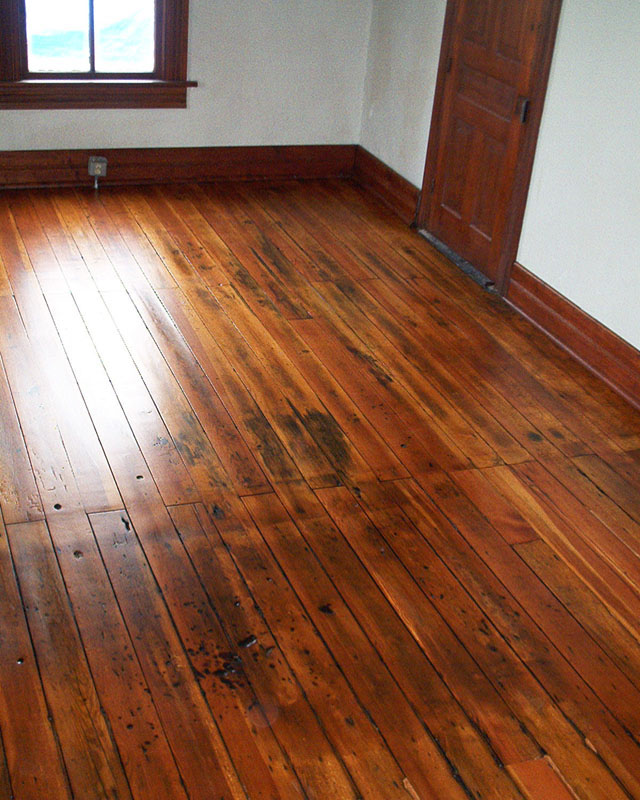
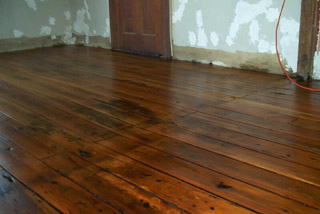
After the final layer of polyurethane and before cabinetry and appliance installation. |
|
|
|
|
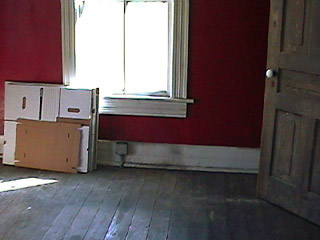
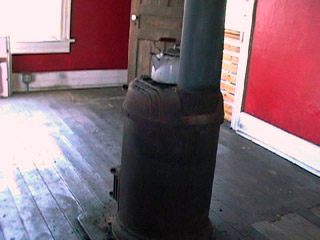
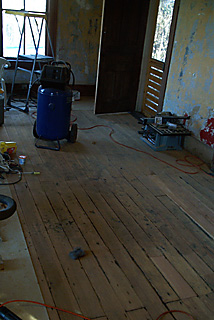
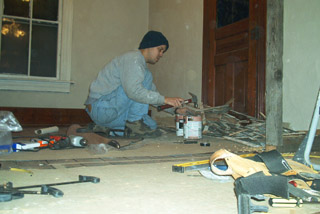
| These are some "before" photos of the kitchen. The thick red paint was applied over wallpaper and 100+ years of paint layers. It all had to be scraped off. Also, there were several layers of paint on the moldings which I stripped then stained. | This coal parlor stove was connected to a half chimney and was being used by the previous owners. The floor boards were warped and damaged in some places. The boards in the lower right portion above were previous bad repairs with non-matching wood. |
|
|
|
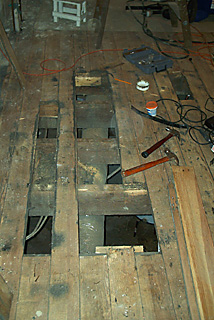
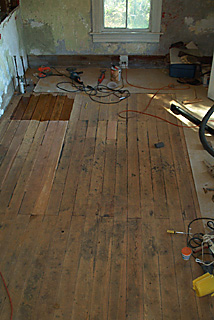
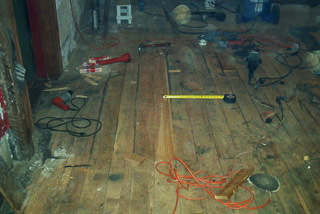
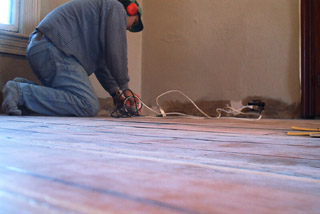
| Some of the 5 inch wide heart pine floors in the kitchen were damaged and needed to be replaced. | After replacing the damaged boards, I rough sanded the floor for color consistency. |
|
|
|
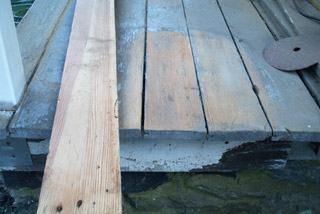
| Three of the floor boards for the kitchen were scavenged from the side porch. The wood on the porch will have to be replaced anyway since it is a mixture of damaged oak and pine floors. | Some of the gaps in the floor had collected decades of coal dust. I had to grind out each gap individually with a Dremel. |
|
|
|
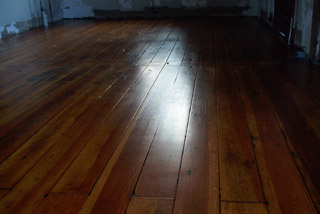
| After drum sanding the floors with successive 20, 36, and 100 grits I applied sanding sealer and a thick layer of oil polyurethane. | Shown from a different angle I mopped the polyurethane across the grain first in order to push as much as I could into the gaps between the boards. |
|
|
|
| After each layer of polyurethane, I smooth sand with a fine 220 grit. This gently removes out imperfections from the last layer as well as provide a rough surface to adhere to the following layer. | Shown after the second layer of polyurethane. The walls are in the process of being finished as well. Several spots needed plaster repair. I smooth sanded one last time before putting on the final third layer. |
|
|
|
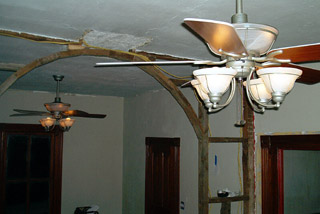
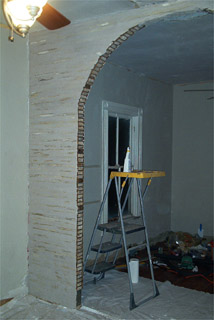
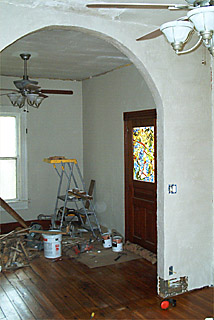
| I framed this arch to "replace" a wall that had been removed many years ago. The arch is larger but similar to other original arches in the house. It also will provide a raceway for electrical work from each side. | To capture the layer of heat trapped at the top of the 10 foot ceilings I installed 2 fans, each in the kitchen and in the breakfast room. We chose the antique pewter frame and walnut blades. |
|
|
|
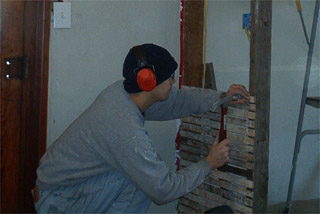
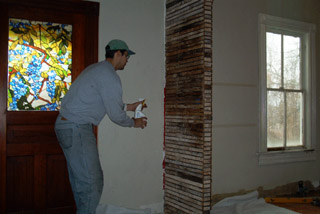
| Here I am "de-nailing" wood lath pulled from the walls upstairs in the bathroom. | Using leftover nails from the lath, I renailed the newly cut strips onto the studs of the new arch. |
|
|
|
|
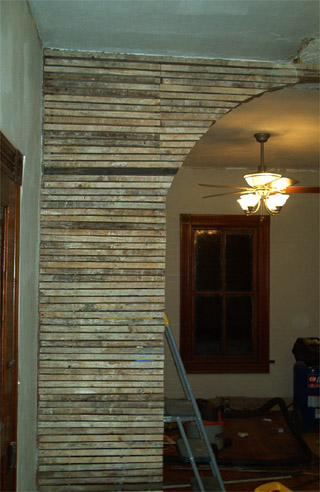
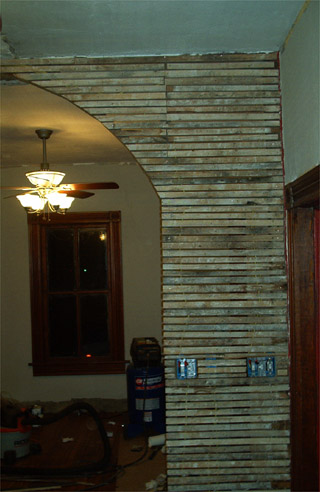
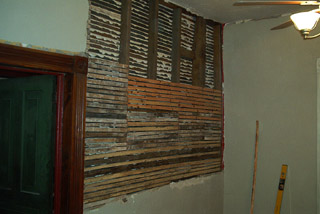
The left and right side of the new arch in the kitchen with the lath installed before the plaster. |
|
|
|
|
|
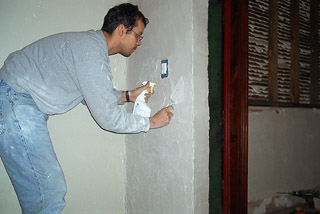
Preparing for the first layer of plaster (the scratch coat), I lightly spray the dry lath with water just before applying the scratch coat. This prevents cracking due to rapid absorption from the dried out wood lath. |
Here I am putting the final layer of plaster on the arch. I will smooth it out by spraying it with water while it hardens. |
|
|
|
| After the scratch coat has been applied. It will be allowed to cure for a couple of days spraying it periodically with water to prevent drying and cracking. | With the arch plaster finished, I am ready to install the cabinets. The plaster takes about 30 days to cure so I have to wait to paint the arch and the final coat in the room. |
|
|
|
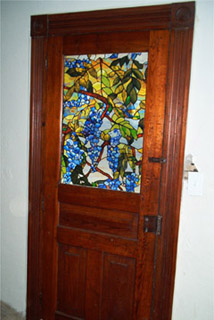
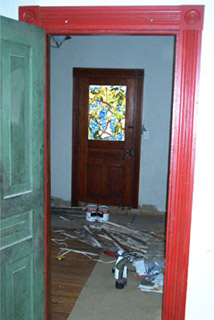
| Two views of the back kitchen door with stained glass looking laminate positioned on window. | |
|
|
|
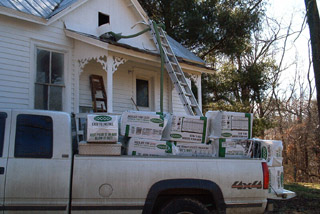
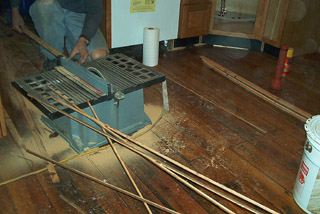
| Preparing for blown-in insulation above the dining room and kitchen. The Cocoon-brand insulation is made from recycled newspaper. This was a two-person job. | Here I am ripping "new" lath from some old 2x4 pine timbers. I ran out of lath long enough to span the studs of the wall below left. |
|
|
|
| With the other side of the wall already plastered, the new lath almost covers the wall facing the breakfast room. | |